Harvest
How can I add individual books to a crop?
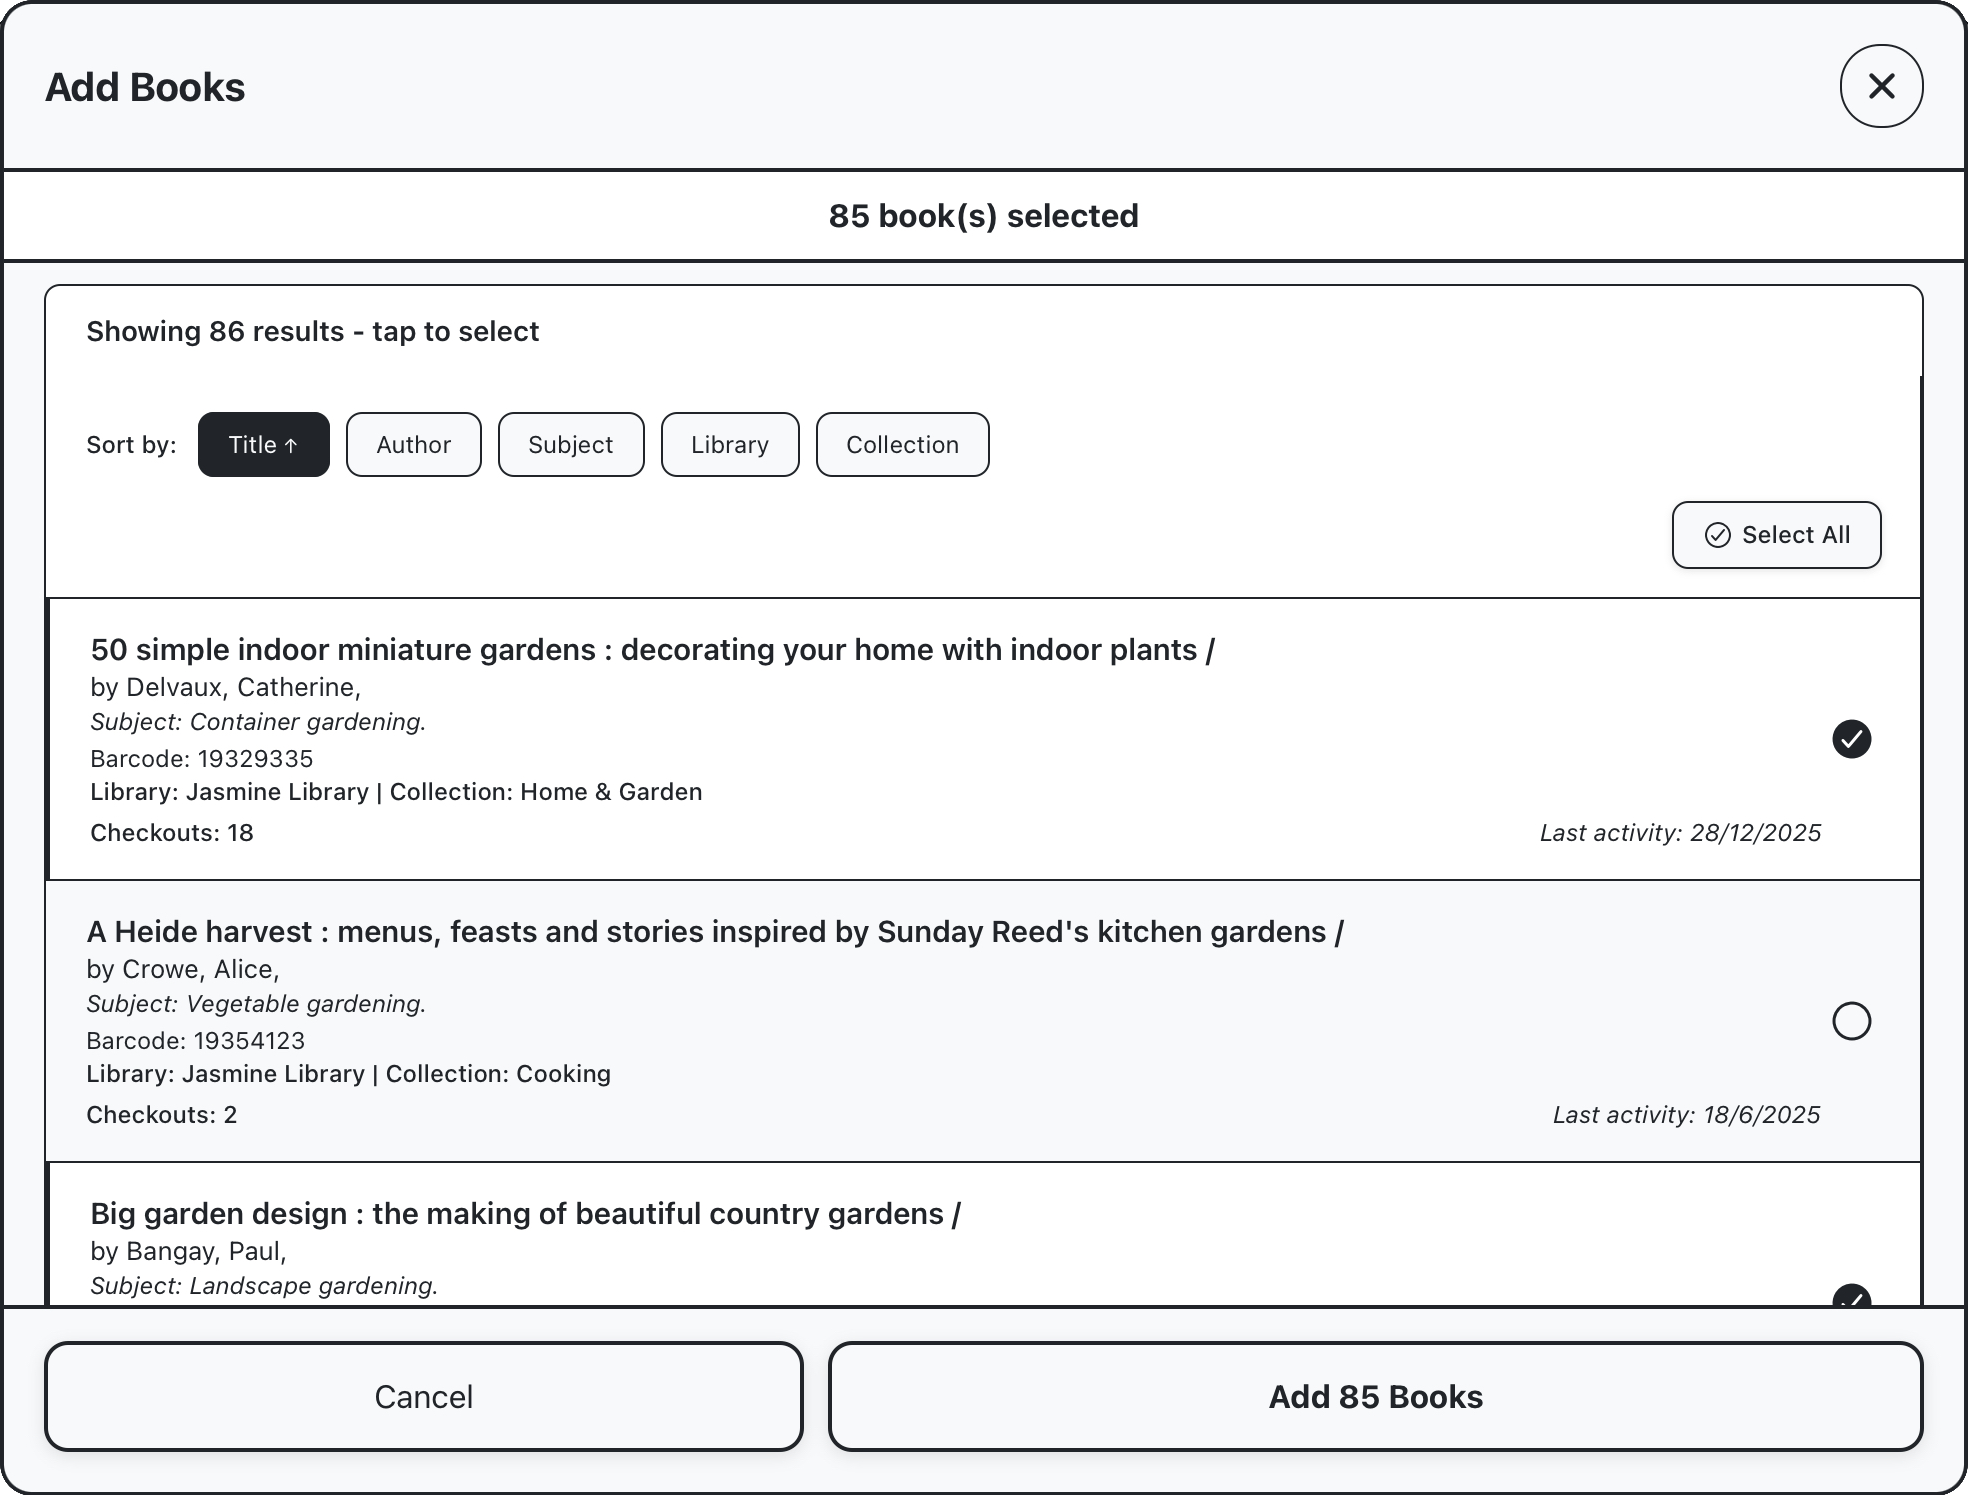
In addition to cultivating crops based on filter parameters like age or checkouts, books can also be added to crops manually to create specific displays. For this example, we’ll create an empty crop and load it with books manually. Get started on the garden screen and select “create manual display” to create an empty crop. You’ll see the harvest screen load with no books shown. For this example, use the “Search Books” button to open a display to search books.
This window has the same Library/Collection panel as seen on other screens, and input fields for author, title and subject. For this example, we’ll search books with the subject “gardening”, this loads a result list from which you can select desired entries. When finished, select the “add x books” button at the bottom right of the window to add selected entries to your crop. Books will initially load with LMS data only and start a two stage process looking up ISBN and then cover image data, this should typically complete within 15 seconds.
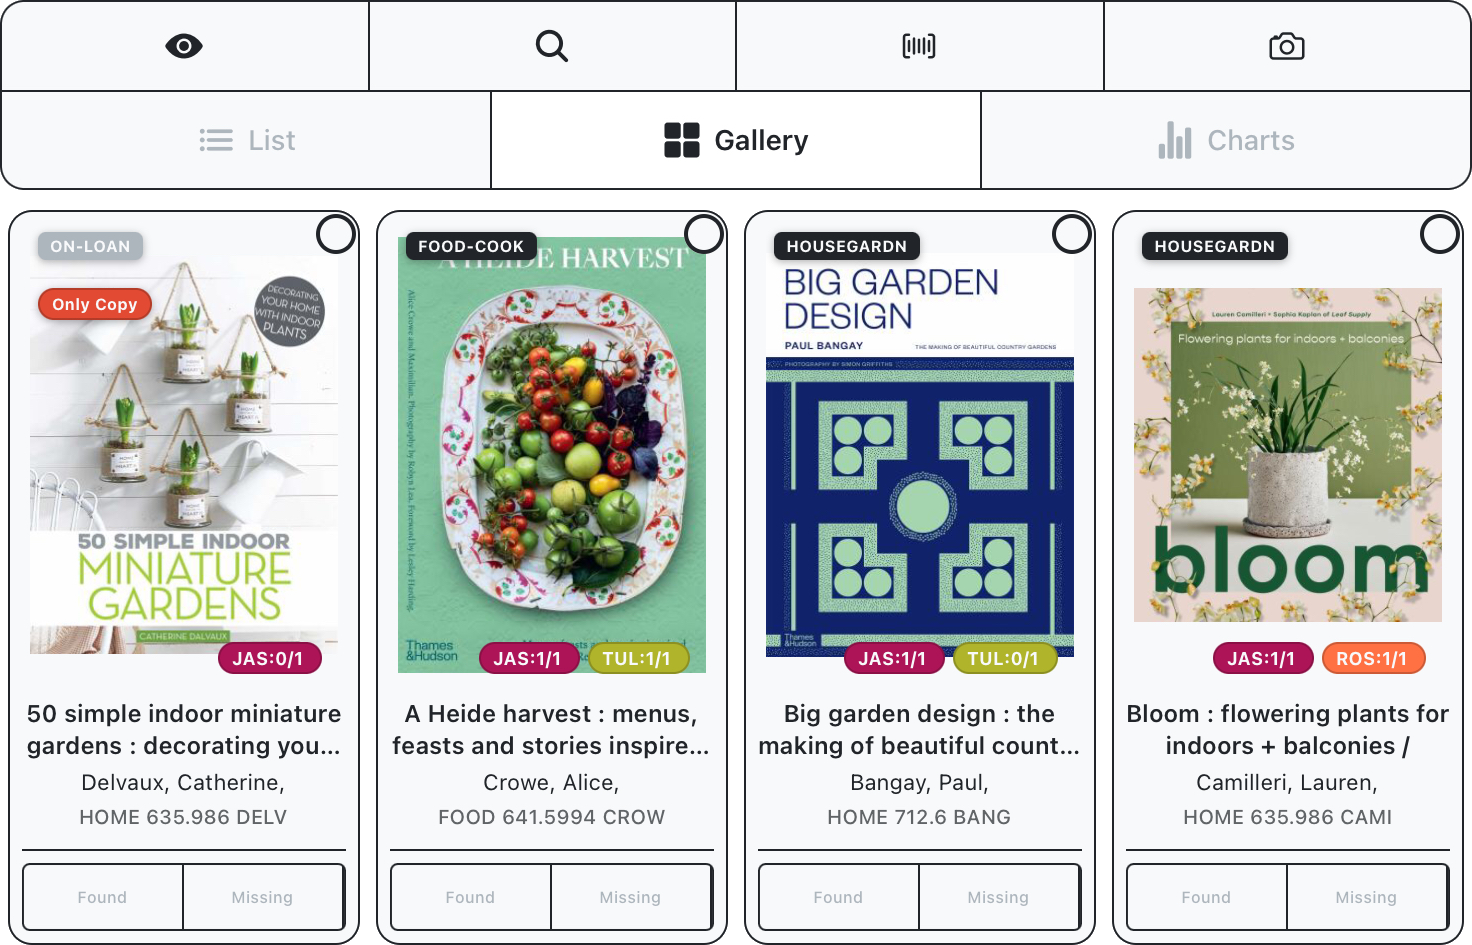
In List and Gallery views, additional metadata is fetched for books and displayed overlaid on the cover image. A badge in the top left will display the items collection, or status if it is ON-LOAN, badges in the bottom right will display the quantity of this item available at each library at your branch, available and total. If there is only one copy of the book across the entire branch, and additional “only copy” badge is displayed (this value is recorded on crop creation, and can be used to filter).
Additional books can be similarly added through the “Input Barcodes” and “Scanner” buttons above the crop display:
Input Barcodes: Intended for pasting in a list of barcodes, most useful if you’re working from PC and already have a list on hand to action.
Scan: Intended to scan barcodes for books you physically have in front of you (please note that this functionality requires us to have loaded your LMS data into the app, see contact page to arrange a demo)
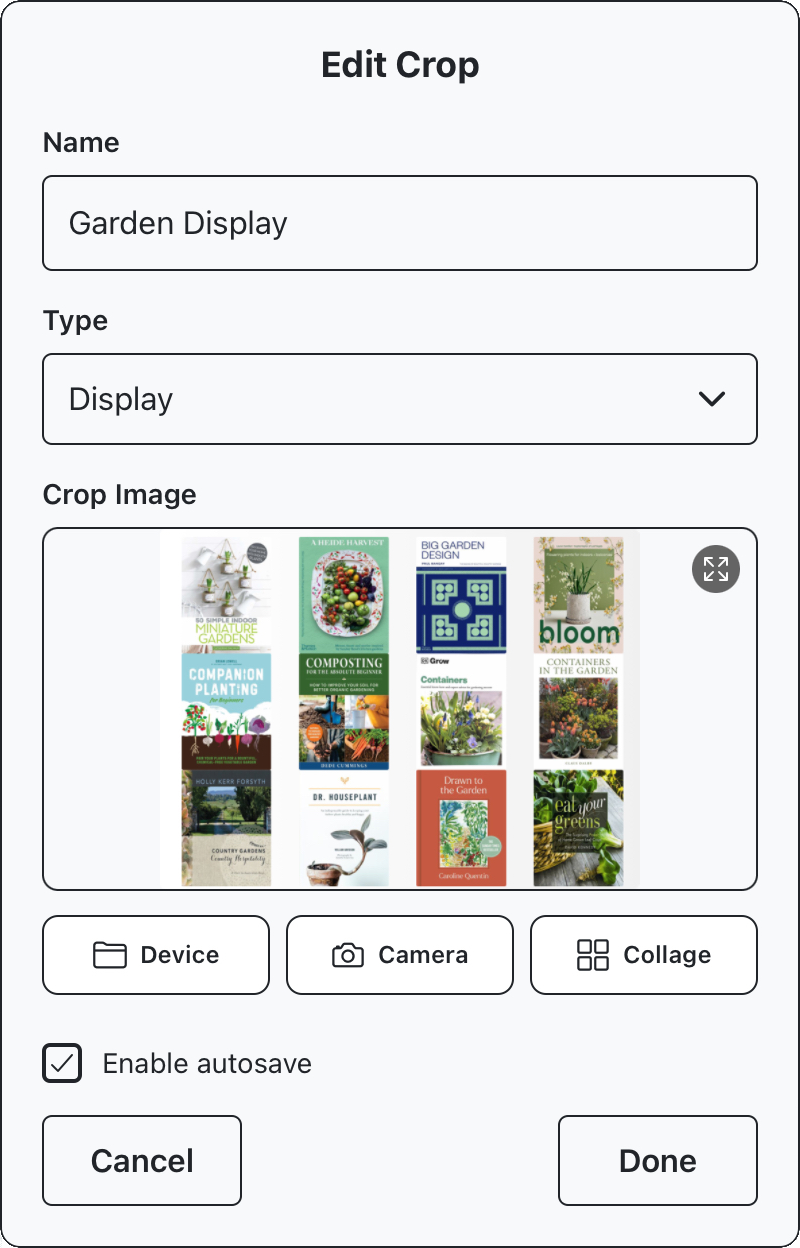
Continue this process until you’ve built up your crop as desired. Once you’re happy with your crop, you can tap the pencil icon in the right hand of the details panel to open up an edit window and update the crops name, type or image.